A field observation starts before an animal appears. Choose a public route, check access and weather rules, and spend time learning the shape of the habitat. Quiet waiting often reveals more than walking quickly from one sighting to the next. Binoculars and a notebook let you watch from a distance and preserve details that memory tends to blur.
Record date, time, approximate location, weather, effort, and what you actually observed. Separate direct evidence from inference: a track may indicate passage, but not necessarily the identity or number of animals that made it. Avoid playback, bait, handling, nest approaches, and precise public coordinates for sensitive species. Follow local park guidance, which takes precedence over general tips.
Begin with a question, not a checklist
A field observation becomes more useful when the observer knows what they are trying to notice. Is the goal to identify a bird, understand how a stream edge changes, or record tracks after rain? A question guides where to look and what details to write down. It also prevents the habit of scanning rapidly for a dramatic animal and overlooking habitat, weather, and signs of absence. Before leaving home, learn the site rules, likely species, seasonal conditions, and any access restrictions. Local guidance takes precedence over a generic field method, especially in protected areas or sensitive habitat.
Let the habitat set your pace
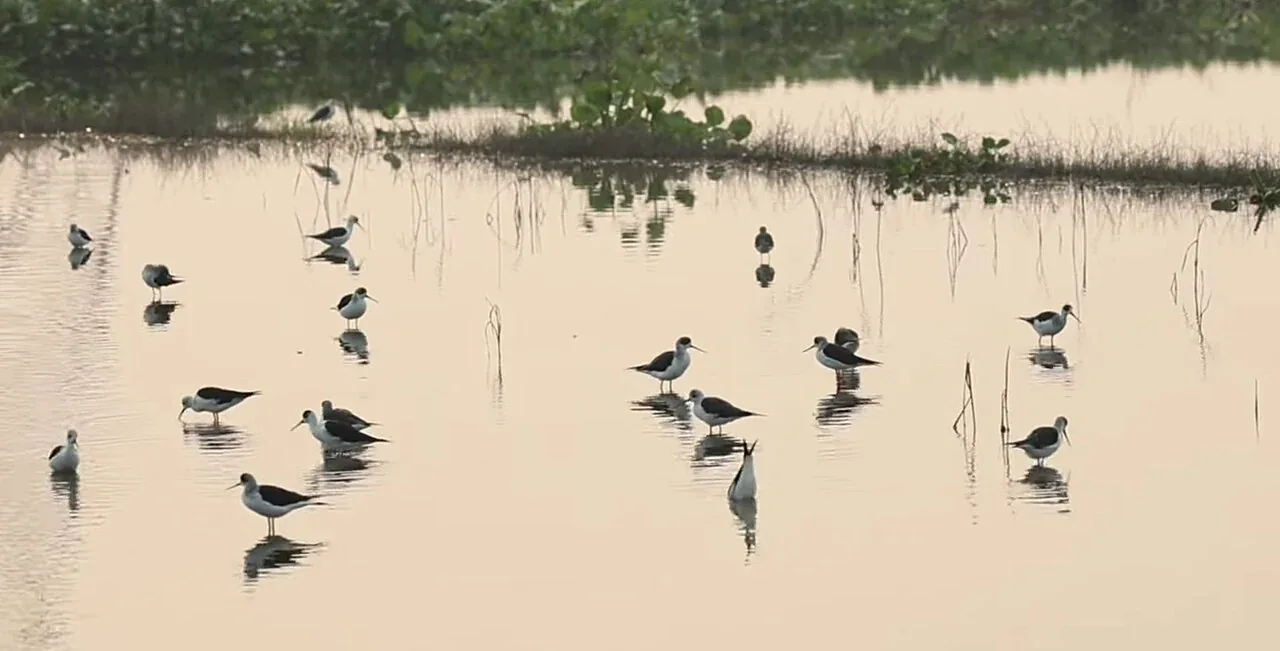
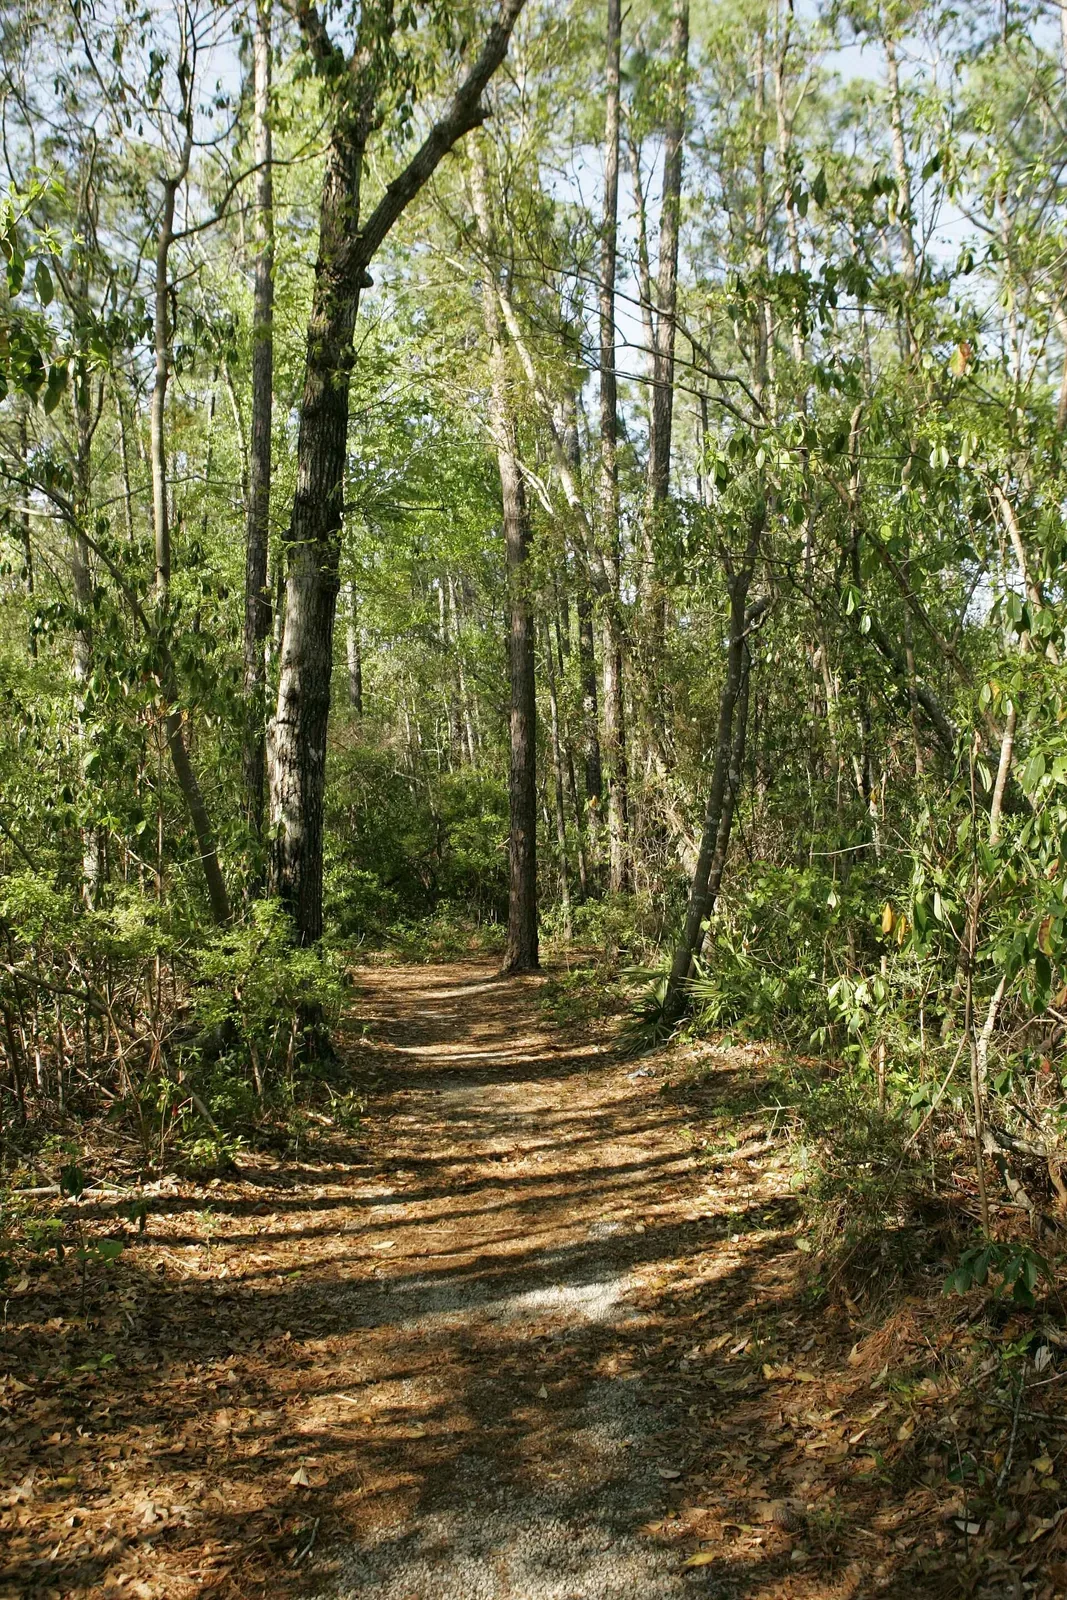
A landscape is easier to read when observation happens slowly. Choose a place where you can stand or sit without blocking a trail, then give your eyes time to adjust to patterns of movement, sound, and light. Notice edges such as reed beds meeting open water, canopy gaps, and the boundary between grass and scrub. These transitions often concentrate activity, but they can also be sensitive places where wildlife feeds or rests. Staying on durable surfaces and avoiding trampling protects the very details you came to observe. A field notebook helps turn a fleeting impression into a record you can compare later.
Record conditions alongside the species
A name alone is a thin observation. Add the date, start time, approximate location, weather, habitat, direction of travel, and the behavior you actually saw. Separate what you observed from what you inferred: 'two birds crossed the channel' is stronger evidence than 'a pair was nesting' unless a nest was confirmed. Use an identification guide to note distinguishing features and record uncertainty when you are not sure. Photos can support later review, but they should not be required if taking one would disturb wildlife. Consistent details make a record easier for another observer to interpret.
Use optics to increase distance
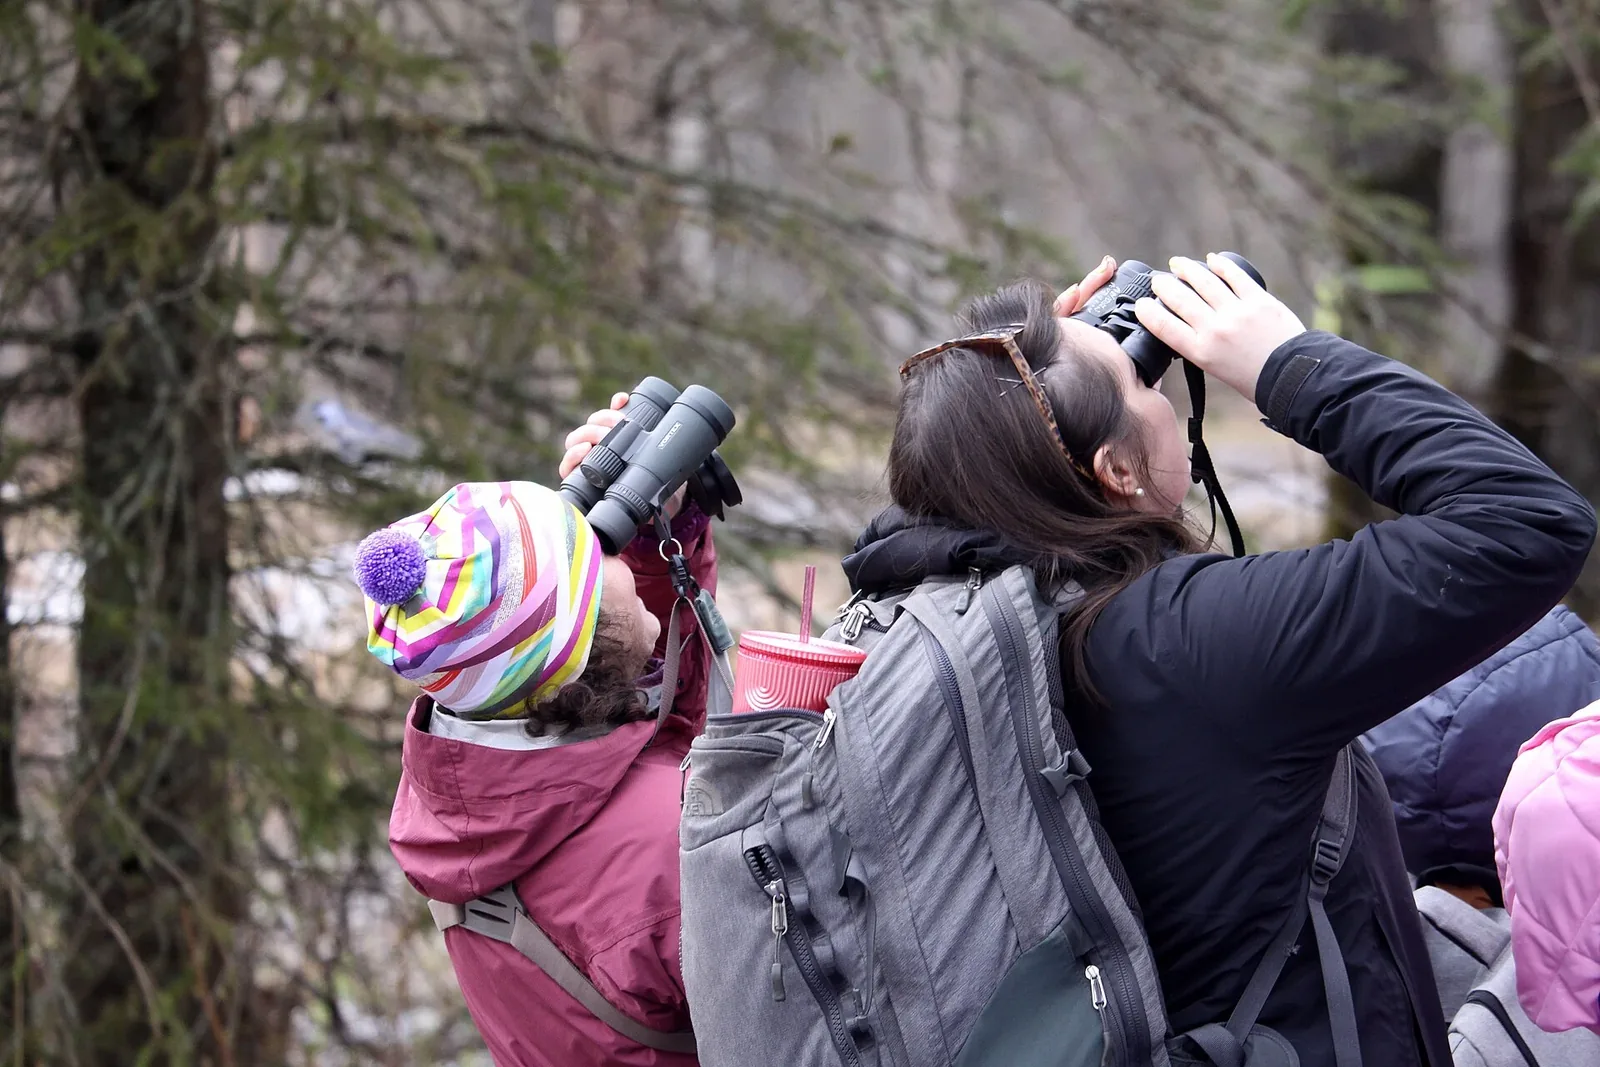
Binoculars and spotting scopes let observers examine detail without moving closer. A stable stance, a comfortable neck strap, and a simple focus routine often matter more than buying the most expensive equipment. Start by locating the animal with unaided vision, then lift the binoculars while keeping your gaze on the same point. If the animal changes behavior in response to you, increase distance or leave. National Park Service guidance emphasizes that wildlife should be allowed to act naturally and that equipment is a way to observe from farther away, not a reason to approach.
Read signs with humility
Tracks, scat, feathers, feeding marks, and calls can reveal that an animal used an area even when it is not visible. These signs are rarely self-explanatory. Rain can blur prints, several species may leave similar marks, and a sound recording may be altered by wind or other animals. Photograph a sign with a scale only if it is safe and permitted; otherwise sketch it and note the substrate. Avoid touching nests, dens, or unknown material. When identification is uncertain, recording a broader group such as 'small mammal' is more valuable than attaching a species name that later misleads a dataset.
Weather and timing shape what you can see
Dawn and dusk can be active periods for many species, but there is no universal best time. Tides, temperature, season, breeding stages, and local disturbance all influence activity. A quiet survey on a cold, windy day may yield few detections even in a species-rich site. Write down the conditions so that you do not compare unlike visits as if they were equivalent. Repeating the same route at similar times improves comparability, while occasional variation can reveal how animals respond to changing conditions. Both approaches are useful when their purpose is clear.
Leave the site as part of the observation
Responsible observation includes how you behave after seeing an animal. Do not feed, call, flush, handle, or follow wildlife for a better view. Keep dogs under the control required by local rules, stay on paths, pack out waste, and avoid sharing sensitive nest or den coordinates. If you notice injured wildlife or a violation, contact the relevant local authority rather than intervening on your own. A good field note captures what happened without making the encounter more intrusive. The aim is not to collect the most dramatic image; it is to leave the habitat usable for the next animal and visitor.
Repeat the same route at a similar pace and time of day if you want to compare observations later. Write down effort even when you see nothing; a zero can help describe how detectable a species was under those conditions. Avoid turning an informal walk into a claim about abundance.